Building and auto-deploying an ASP.NET Core application - Part 1 - Introduction
I have been programming for many years and over those years, I have seen the development landscape change quite a lot. Things have become both simpler and more complex at the same time. For example, setting up a web server on Windows to run a Classic ASP site with COM+ components was pretty complicated back in the days. Setting up an Azure app service today to do more or less the same as that old web server did takes just a couple of clicks in the Azure portal. At the same time, things have become more complicated because possibilities, demands and requirements have changed. For example, when I started programming, distributed source control usually meant a shared network drive where everyone would write to and that was occasionally backed up ;-) But nowadays, we have powerful source control systems like Git that allow for more feature-rich management of your source code including history, branching and a lot more. And combined with powerful online platforms like Azure DevOps and GitHub, you have all the tools you need at your fingertips.
With all those changes, powerful as they may be, I feel that things in general have become more complicated for people new to development as the concept account is so high. There are tons of things you need to know something about now. For example, to start with Classic ASP, you would need to know a little bit about scripting, database access, and the Request, Response, Session, Server and Application objects and you could write some working code. Today you have to understand a lot more concepts to understand programming on the .NET stack: Visual Studio (any flavor), the .NET and ASP.NET class libraries, NuGet, maybe Entity Framework, maybe some client frameworks like React or Angular, and more. Similarly, deploying that old app could be as simple as copying over a bunch of .asp files to a remote server using FTP and hope for the best whereas nowadays many development teams use CI/CD (Continuous Integration and Continuous Deployment) pipelines that automatically build, test and deploy your code. This in turn means you'll have to understand tools like Azure DevOps or GitHub, understand the concept of pipelines, builds and releases, know a little bit of YAML and a lot more. In my experience, many (web) developers know about the programming side of things needed to build a great web site but are often unfamiliar with the deployment side of things. In this article series, I'll demonstrate how to build and deploy a simple application to a remote web server using automated tools such as GitHub (for source control) and Azure DevOps (for the automated builds and deployments). Armed with what you learn in these series, you can successfully automate your own application deployment, even if you're a single developer or part of just a small team of developers.
What I have found over the years is that tons of information about our field of development and deployment is available online. Want to know how to automatically execute SQL Scripts during deployment? There's a post about that. Want to execute tests as part of your build process? You'll find plenty of posts on that topic. Do you need to know how to define your database structure based on your model? Again, there is a lot of information available. However, in my experience, a lot of that info is scattered throughout the web. You'll find it if you know what to look for. But if you don't know that, say, CI/CD is a really good idea in the first place, you'll never search for Continuous Integration or Continuous Deployment and find stuff that may change the way you work dramatically.
Over the course of the next 7 articles, I hope to change that a bit. I'll show, in enough detail to repeat it yourself, how to create an ASP.NET 5.0 Core application using Entity Framework Core 5.0 from scratch, save its source in GitHub and use Azure DevOps to continuously integrate and deploy your application and underlying database as you are making changes to it. The application itself will be really simple but complex enough in structure to touch on some challenging areas of CI/CD.
Note: if you like to purchase the entire series now and not wait for the remaining parts to come online, check out this blog post that explains how you can purchase it for only $8.
The series consists of the following parts:
- Introduction (you're reading it now)
- Creating the web application
- Using GitHub and managing change in your application
- Setting up a CI Pipeline in Azure DevOps
- Setting up a CD pipeline: Deploying with web deploy to a Virtual Machine or on-premises server
- Setting up a CD pipeline: Deploying to an Azure App Service
- Improving your builds with a custom build agent and Azure Deployment Slots
Overview
The next section provides an overview of the topics discussed in each article in the series.
Part 1 - Introduction
In this article I provide an overview of developing a web site using a CI/CD workflow. You see how to set up the necessary account for services like GitHub, Azure DevOps and the Azure Portal.
Part 2 - Creating the web application
In part 2 I'll show you how to create a simple ASP.NET Core 5.0 MVC application that uses EF Core 5 as the database technology. All the application will do is display some data from a table. The main focus of these articles is on how to deploy the application and its database schema, so the application itself will hardly have any features. The application will be complex enough though to demonstrate enough challenges, like dealing with EF in a separate class library, configuring the generated database and deploying schema changes as the application evolves.
Part 3 - Using GitHub and managing change in your application
Part 3 in the
series shows you how to work with Git and GitHub to manage your source code.
Part 4 - Setting up a CI Pipeline in Azure DevOps
In part 4 I'll build the first pipeline in Azure DevOps to take the latest copy of the source code, build it and store the results back in Azure DevOps so it's available when releasing the site to a production server. Once the basic build runs fine, I'll expand on it by executing the unit tests that I'll add to the project. And at the end you'll see how to extract the database schema changes using EF Migrations and store them as part of the build so they can be used to update the target database during the release.
Part 5 - Setting up a CD pipeline: Deploying your site to a VM or an on-premises server
Part 5 and 6 are similar in that they show you how to deploy a web application to a remote server or service using an Azure DevOps release pipeline. In this part, you'll see how to deploy to one of your own servers running IIS, Besides deploying the application you'll also see how to set up and configure your database, how to deploy schema changes during subsequent releases and how to manage and update connection strings as part of the release.
Part 6 - Setting up a CD pipeline: Deploying your Site to an Azure App Service
Part 6 is similar to the previous article but now the focus is on deploying an application to an Azure App Service. Besides deploying the application you'll also see how to set up and configure a SQL Azure server and database, how to deploy schema changes during subsequent releases and how to manage and update connection strings as part of the release.
Part 7 - Improving your builds with a custom build agent
The article series closes with two topics to improve your build and release processes. The first part shows you how to install your own build agent to speed up the build phase of your pipeline. The second part discusses how to use Azure Deployment Slots to minimize downtime of your production sites when using Microsoft's cloud platform.
Note: I've gone through these articles a few times making changes where appropriate. This means that screenshots can sometimes change a bit between the various steps. For example, a build pipeline that is unnamed in one image can suddenly have a name in subsequent screenshots even when I haven't supplied details on how to set the name. I think overall these small discrepancies shouldn't affect the overall story I am trying to tell. That said, if you encounter something that seems off or wrong, or that confuses you, be sure to reach out to me and I'd be happy to explain further as needed.
Introduction
To understand the overall flow of a development with CI/CD process in general, consider this diagram:
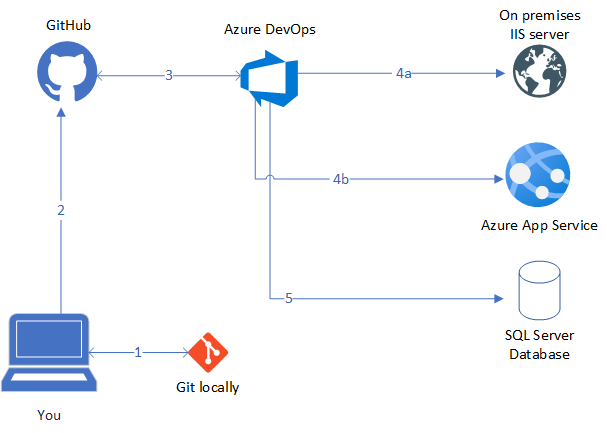
From a high level point of view, the process works as follows:
- A developer writes code and commits changes to a Git repo on the local machine.
- Whenever the code is ready to be integrated, the developer syncs her or his commits with the remote repository; GitHub in the diagram above.
- Azure DevOps watches the repository (through notifications coming from GitHub) and whenever code changes are submitted, it retrieves the latest source from GitHub and then builds and optionally tests the software.
- When the build completes successfully, the source code is deployed automatically to a remote server so it becomes available for testing or production use. In the example above, 4a represents an on-premises installation of IIS that could be running on a (cloud hosted) Virtual Machine or a server in your local network for example, whereas 4b represents an Azure App Service.
In the remainder of this article series, you'll see how to implement this entire flow.
Note: in this article series I use GitHub (for my source code), Azure DevOps (for the CI/CD part) and Microsoft Azure and a local IIS web server (to host the site). You're not limited to these options though. Instead of GitHub , you could choose to store your code in an Azure repository (which also supports Git as the backing source control platform) or any of the other supported source control systems. Likewise, instead of Azure DevOps you could use other tools such as Octopus Deploy, GitHub Actions, Jenkins and plenty of others. I picked GitHub and Azure DevOps because I like their feature sets. GitHub is great for managing source code in a collaborative environment (for open as well as closed source projects) while Azure DevOps has powerful tools to build and deploy your applications (and a lot more).
Required tools
To follow along with the series, you'll need the tools as described below. Note: I'll demo things using a Windows environment as that's what I have. If you prefer a Mac or Linux, conceptually many things will be the same, but your tools and applications will be different.
-
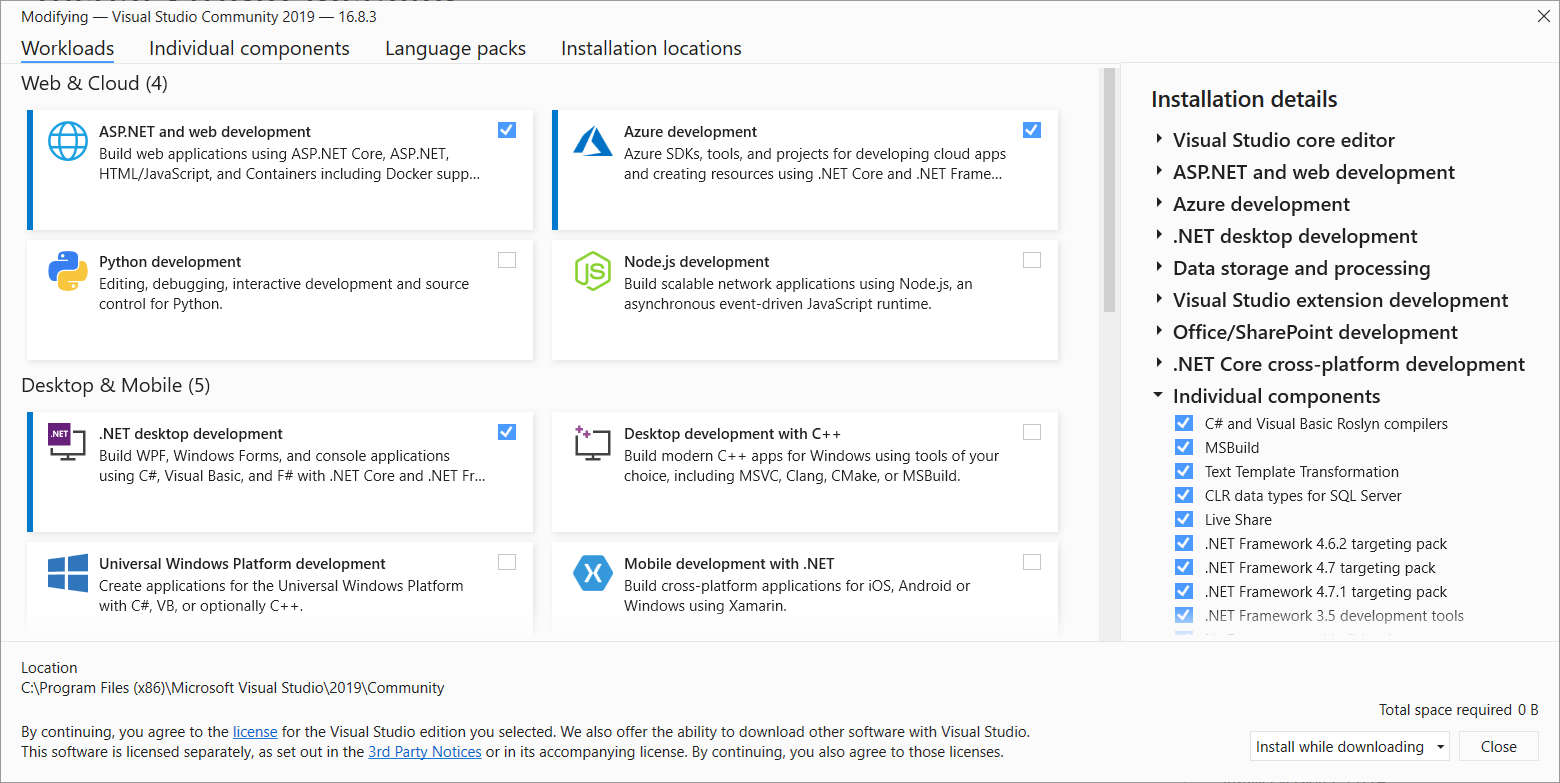
Visual Studio 2019. I'll be using Microsoft Visual Studio Community 2019 version 16.8.3 but later versions should also work. When you install Visual Studio, make sure you select the ASP and Core related work loads. I usually select at least:
- ASP.NET and web development
- Azure development
- .NET Desktop development
- .NET Core cross platform development
![]()
-
.NET 5. You need the latest .NET 5 SDK which you can download here: https://dotnet.microsoft.com/download/dotnet/5.0. Be sure to download the version from the "Build apps - SDK" column and not the "Run apps - Runtime" column. The latter is for hosting your site, while the former is needed to develop apps locally.
-
Git. Although I use Git (and later on GitHub as well) in this article series, you don't have to and you could choose another system. However, I personally like Git best and with Azure DevOps supporting Git as the backend source control system, you can get the best of both worlds in a single environment. Because I also like GitHub.com very much for its social and interaction features, I'll host my sample code in GitHub but build and deploy it with Azure DevOps. You can get a copy of Git for Windows here: https://git-scm.com/download/win. I usually install Git for Windows using all the defaults that the installer offers, but you can configure it how you like.
Required accounts
In order to follow along with the series, you need an account to Azure DevOps as well as to GitHub. If you choose to host your source in Azure DevOps instead (which is a very viable and powerful alternative to GitHub) you don't need a GitHub account and just an account to Azure DevOps will suffice. If you choose that option, you'll need to adapt the steps a bit to use Azure's source control online, although locally you can still use Git.
If you want to deploy your site to Azure as an app service instead of to an on premises IIS installation, you need an Azure subscription as well.
Setting up a GitHub account
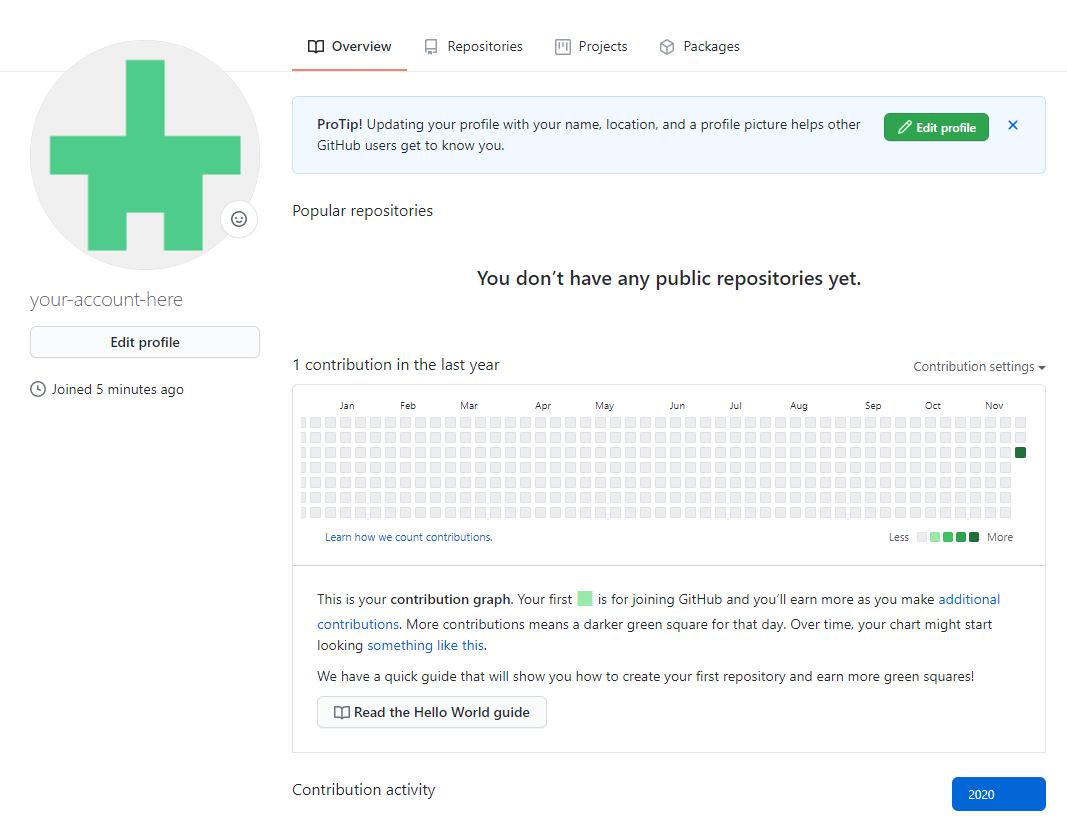
To create a GitHub account, go to https://github.com/ and sign up for a new account. The free plan is enough to follow along. Once your account is created, you need to answer a few questions about the work you do and how you plan to use GitHub. Then once your e-mail address is confirmed, you're ready to go. If you access GitHub.com you should see something like this:
Setting up an Azure DevOps account
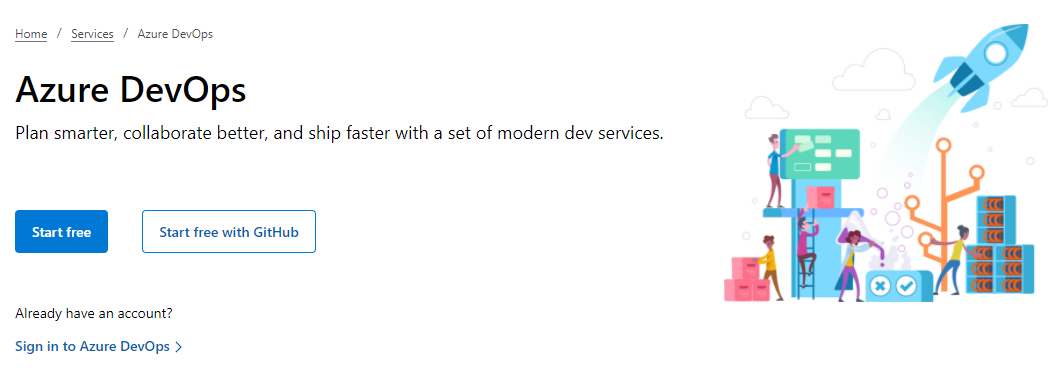
For an Azure DevOps account, go here: https://dev.azure.com/. There you can choose between two options to create an account: clicking Start free or Start free with GitHub:
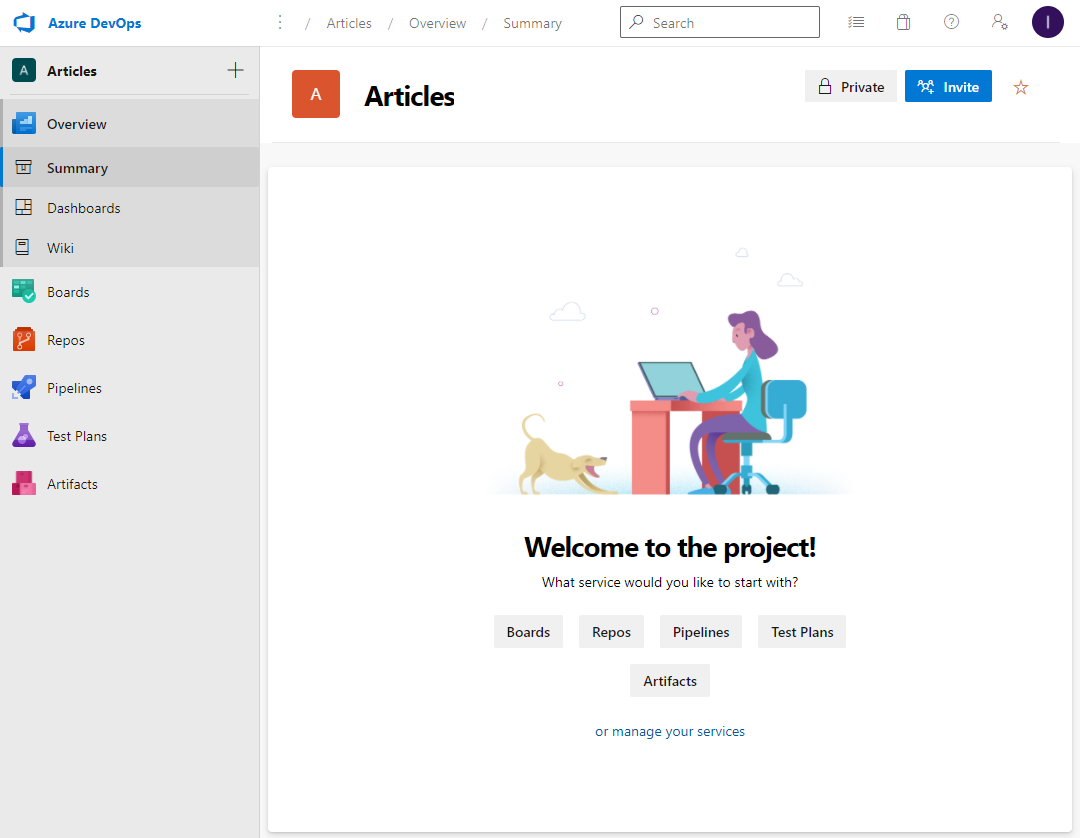
With the first option you can create a brand new account whereas the second option allows you to sign up and sign in with your existing GitHub account. Once your account is created and your e-mail address confirmed, you need to select your region and create an organization. The organization name must be unique and is not easily changed later on, so choose something you won't mind sticking with. Finally, once the organization is created, you need to create a project. You can host multiple projects easily in Azure DevOps. For now, just enter a name that describes your project and click Create project. The name only needs to be unique within your organization. I called mine Articles as you can see in the screenshot below. When you're done, your project's home page at https://dev.azure.com/{OrganizationName}/{ProjectName} looks as follows:
On the left below the project name you see the main menu items like Overview, Boards, Repos, Pipelines and more. In this article series, I'll only use Pipelines but you're encouraged to check out the following links to learn more about Azure DevOps.
- https://docs.microsoft.com/en-us/azure/devops/user-guide/alm-devops-features?view=azure-devops
- https://docs.microsoft.com/en-us/azure/devops/boards/?view=azure-devops
- https://docs.microsoft.com/en-us/azure/devops/repos/?view=azure-devops
- https://docs.microsoft.com/en-us/azure/devops/pipelines/?view=azure-devops
Setting up an Azure account
If you don't want to host your site yourself, you can choose among many different parties that offer hosting services, from companies that manage your own physical hardware and allow you to access it online to full platform as a service offerings such as Microsoft Azure. In this article series I'll show you how to deploy a site to an on-premises solution (Part 5) as well as to a Microsoft Azure App Service (Part 6).
Note: don't be confused by the overlap in names: Azure, or Microsoft Azure refers to Microsoft's Cloud platform that offers cloud facilities such as VMs, app services, serverless compute, storage, databases and a lot more. It can be found at https://portal.azure.com/. Azure DevOps is Microsoft's ALM platform which offers services to design, build, deploy and manage your software projects in the cloud. It can be found at https://dev.azure.com/. To follow along with the article series, an account for Azure DevOps is required as explained in a previous section. An account for Microsoft Azure is only needed if you want to deploy your web application to their platform. To create the account, follow these steps:
- Browse to https://portal.azure.com/ and click Start to sign up for a free trial
- Log in if needed and then set up a new profile
- Go through the steps of confirming your account by (mobile) phone and credit card. You card won't be charged until you explicitly upgrade your account and it's used as a verification mechanism only at this stage
Once your account is set up and you're logged in to https://portal.azure.com/ you should see a screen similar to the following:

From this dashboard you can create, manage and watch Azure resources such as App Services as you'll see in a later article. For more information about a free Azure subscription, check out the Azure web site.
With the introduction and account prerequisites dealt with, it's now time to create the actual application. In the next article in the series you see how to do that. In the third article in the series you'll then see how to add the source code of the application to GitHub to make to easier to manage change. Later articles in the series will then show you how to set up the CI/CD pipelines to automatically build and roll out your web sites.
Where to Next?
Wonder where to go next? You can post a comment on this article.
Links in this Document
| Doc ID | 617 |
| Full URL | https://imar.spaanjaars.com/617/building-and-auto-deploying-an-aspnet-core-application-part-1-introduction |
| Short cut | https://imar.spaanjaars.com/617/ |
| Written by | Imar Spaanjaars |
| Date Posted | 01/20/2021 17:23 |
Comments
Talk Back! Comment on Imar.Spaanjaars.Com
I am interested in what you have to say about this article. Feel free to post any comments, remarks or questions you may have about this article. The Talk Back feature is not meant for technical questions that are not directly related to this article. So, a post like "Hey, can you tell me how I can upload files to a MySQL database in PHP?" is likely to be removed. Also spam and unrealistic job offers will be deleted immediately.
When you post a comment, you have to provide your name and the comment. Your e-mail address is optional and you only need to provide it if you want me to contact you. It will not be displayed along with your comment. I got sick and tired of the comment spam I was receiving, so I have protected this page with a simple calculation exercise. This means that if you want to leave a comment, you'll need to complete the calculation before you hit the Post Comment button.
If you want to object to a comment made by another visitor, be sure to contact me and I'll look into it ASAP. Don't forget to mention the page link, or the Doc ID of the document.